
GS1-128 (UCC-128/SCC)
GS1-128 barcodes are a global standard known for their capacity to define the meaning of encoded data through Application Identifiers. GS1-128 barcodes use the Code 128 barcode specification, so each barcode begins with a Start C character. This is followed by a Function Code One (FNC1) and an Application Identifier (AI) number. The AI defines a specific purpose for the data field after it. This number may vary. A GTIN (Global Trade Item Number) will have an AI of 01 while a Serial Shipping Container Code (SSCC) will have an AI of 00. It’s important to note that the height of the barcode should be 15% of the length or 0.50 inch (1.3 CM), whichever is greater. For more on GS1 specifications, view the following: GS1 General Specifications
To create a GS1-128 in eFORMz, follow the tutorial below. Sample files can be downloaded here: GS1
USPS GS1-128 Intelligent Mail Package Barcode
In this tutorial, a USPS GS1-128 Intelligent Mail Package Barcode (IMpb) is created. The United States Postal Service (USPS) requires an IMpb generated with Code 128 symbology to be included on all shipping labels.

Exhibit 7: Visible and Non-Visible (Encoded/Overhead) Elements – C01 Barcode Construct, ©2017 United States Postal Service
- Start C character
- FNC1 character
- 3 digit AI (Application Identifier, always 420)
- Routing Zip Code (5 or 9 digit)
- FNC1 character
- 2 digit AI (Application Identifier, which is 92 for 9 digit customer ID or 93 in the case of a 6 digit customer ID)
- 3 digit service type code
- 6 or 9 digit customer ID (The nine digit customer ID must start with a ‘9’)
- 7, 10, 11 or 14 digit sequential package ID (Use a 7 or 11 digit number with a nine digit customer ID and a 10 or 14 digit number with a six-digit customer ID)
- Mod 10 check digit
- Mod 103 symbology check digit
- Stop character
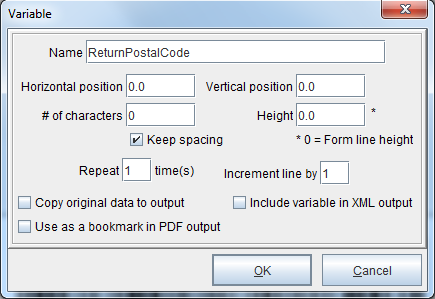
1. First, right click the form and select Add Variable > By position. The Variable dialog box will display. This variable will be for the ‘Routing Zip Code (5 digit)’. In our example, the variable has been named ‘ReturnPostalCode’.
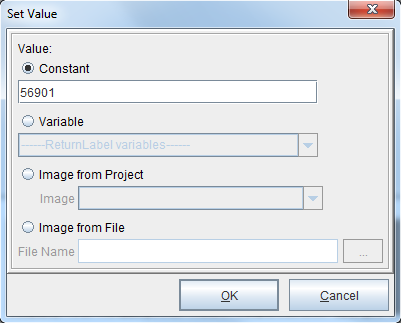
2. Next, right click the variable and select Add Function > Set Value. The Set Value dialog box will display. Enter the routing zip code value in the Constant field (‘56901’ in this example).
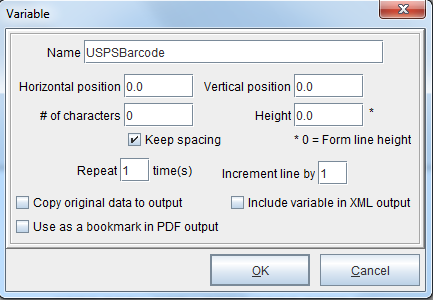
3. Right click the form and select Add Variable > By position. The Variable dialog box will display. This variable will be for the bulk of the barcode itself, including the ‘2 digit AI’ (92), ‘3 digit service type code’ (023 in this example), ‘9 digit customer ID’ (901007480 in this example), ’11 digit sequential package ID’ (00000066238 in this example) and the ‘Mod 10 check digit’ (4 in this example). In our example, the variable has been named ‘USPSBarcode’.
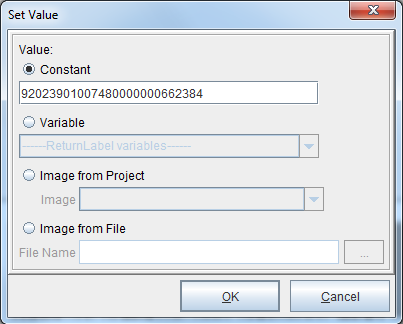
4. Right click the variable and select Add Function > Set Value. The Set Value dialog box will display. Enter the barcode value in the Constant field (‘92023901007480000000662384’ in this example).
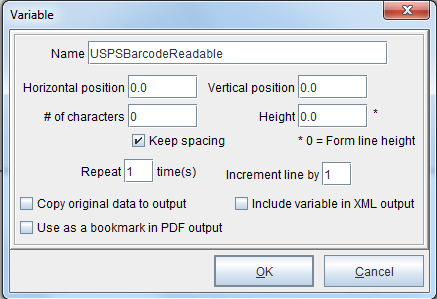
5. Right click the form and select Add Variable > By position. The Variable dialog box will display. This variable will be for the human-readable representation of barcode data. In our example, the variable has been named ‘USPSBarcodeReadable’.
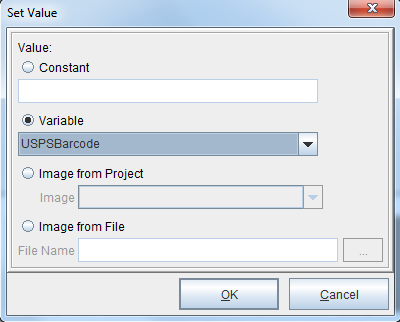
6. Right click the variable and select Add Function > Set Value. The Set Value dialog box will display. Select the ‘USPSBarcode’ variable from the Variable drop-down menu.
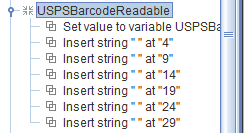
7. Right click the ‘USPSBarcodeReadable’ and select Add Function > Insert String. In the Insert field, add a space and in the At character position field, enter a value of 4.

Continue inserting strings to separate the barcode value so that it becomes readable text:
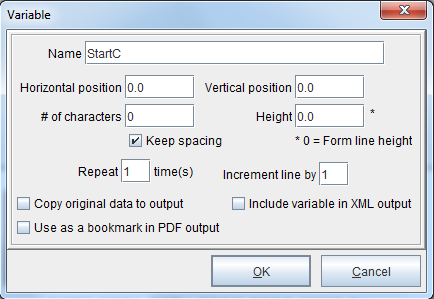
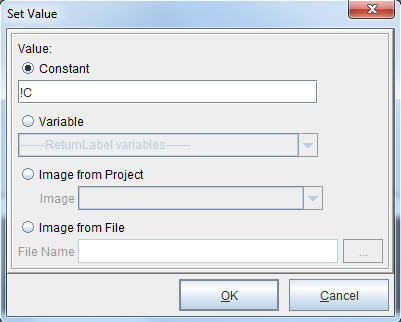
8. Right click the form and select Add Variable > By position. The Variable dialog box will display. This variable will be for the ‘Start C character’ (!C). In this example, it’s called ‘StartC’.
9. Right click the variable and select Add Function > Set Value. The Set Value dialog box will display. Enter ‘!C’ in the Constant field.
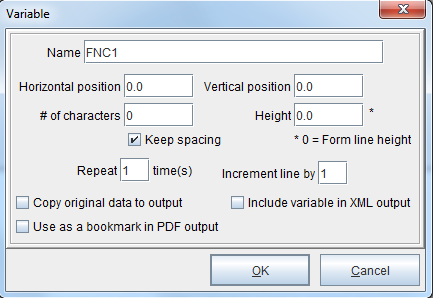
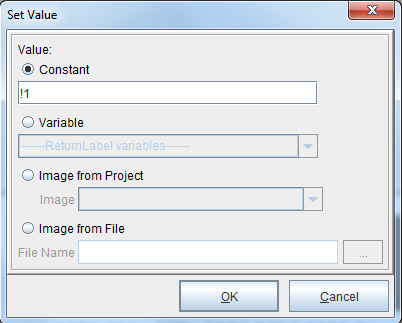
10. Right click the form and select Add Variable > By position. The Variable dialog box will display. This variable will be for the ‘FNC1 character’ (!1). In this example, it’s called ‘FNC1’.
11. Right click the variable and select Add Function > Set Value. The Set Value dialog box will display. Enter ‘!1’ in the Constant field.
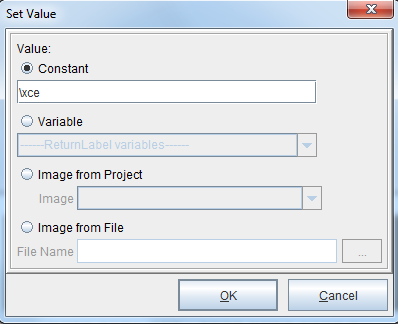
12. Right click the form and select Add Variable > By position. The Variable dialog box will display. This variable will be for the ‘Stop character’ (\xce). In this example, it’s called ‘Stop’.

13. Right click the variable and select Add Function > Set Value. The Set Value dialog box will display. Enter ‘\xce’ in the Constant field.
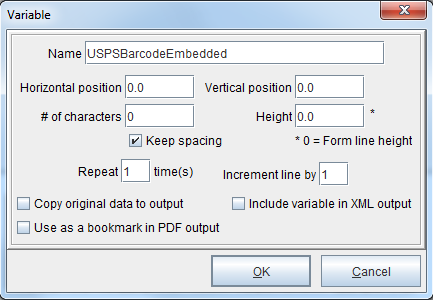
14. Right click the form and select Add Variable > By position. The Variable dialog box will display. This variable will be for the completed barcode that is placed on the form/label. In this example, it’s called ‘USPSBarcodeEmbedded’.
15. Right click the ‘USPSBarcodeEmbedded’ and select Add Function > Concatenate. Concatenate the following variables in the order specified below:

Once these variables have been concatenated, the barcode and human-readable text can be placed onto the form or label.
Placing the Barcode
Rule
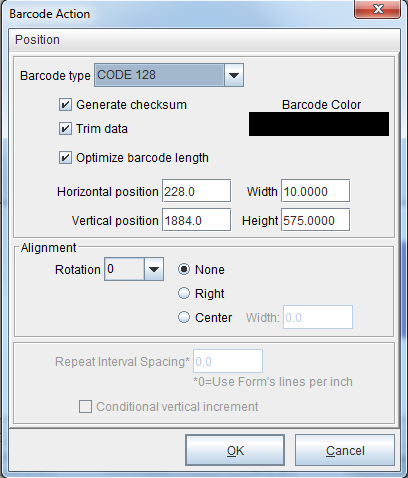
To place the barcode via a rule, right click in the Form and Data Viewer and select Add Rule > 1D Barcode. Select the ‘USPSBarcodeEmbedded’ variable and select OK.

The Barcode Action dialog box will display. Select CODE 128 from the Barcode type drop-down menu and make sure the ‘Generate checksum’. ‘Trim data’ and ‘Optimize barcode length’ boxes are checked. The height of the barcode should be 15% of the length or 0.50 inch (1.3 CM), whichever is greater. Adjust the height/width accordingly.
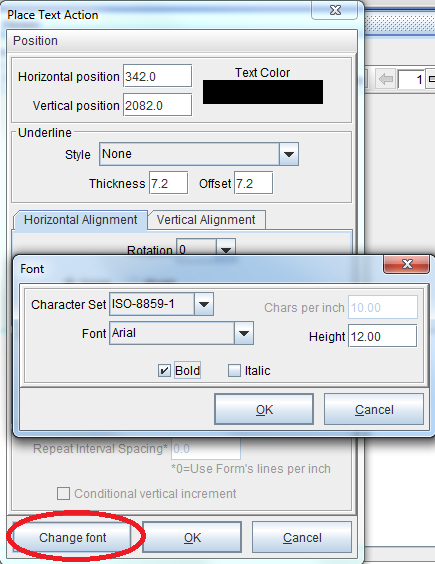
To place the human-readable text via a rule, right click in the Form and Data Viewer and select Add Rule > Place Text. Select the ‘USPSBarcodeReadable’ variable and select OK.

The Place Text Action dialog box will display. The text height minimum of 0.09 inches. It must be Bold, Sans serif type (e.g., Helvetica or Arial), centered horizontally below the barcode and printed at a minimum 0.125 inch below the barcode, but not more than 0.25 inch below the barcode. Adjust the font as needed and select OK.
Document Template
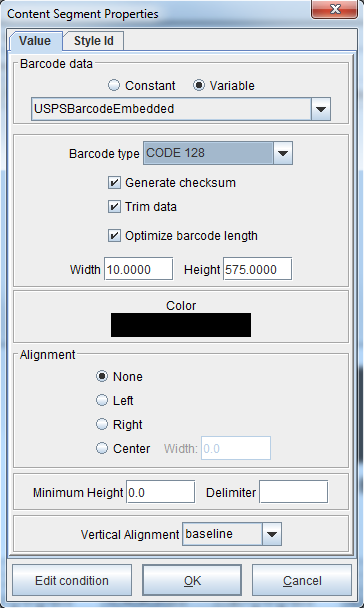
To place the barcode via the Document Template, right click a paragraph component and select Add barcode > 2D barcode. Select the ‘USPSBarcodeReadable’ variable from the Barcode data drop-down menu. From the Barcode type drop-down menu, select CODE 128. Make sure the ‘Generate checksum’. ‘Trim data’ and ‘Optimize barcode length’ boxes are checked. The height of the barcode should be 15% of the length or 0.50 inch (1.3 CM), whichever is greater. Adjust the height/width accordingly.
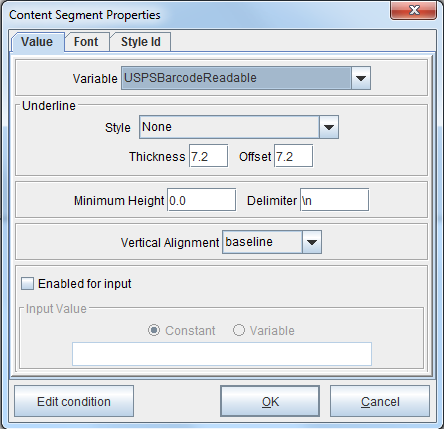
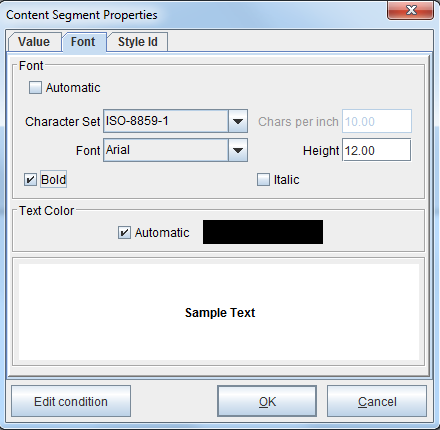
To place the human-readable text via the Document Template, right click a paragraph component and select Add text > Variable value. Select the ‘USPSBarcodeReadable’ variable and navigate to the Font tab.
The text height minimum of 0.09 inches. It must be Bold, Sans serif type (e.g., Helvetica or Arial), centered horizontally below the barcode and printed at a minimum 0.125 inch below the barcode, but not more than 0.25 inch below the barcode. Adjust the font as needed and select OK.
Tags: EAN; EAN-128